GRP Roof Restoration and Reinforcement Kit

Price range: £233.19 through £522.70 (inc. VAT)

Reinforce weak areas then fully coat your grp roof to look like new.

roof repair kit tick Tough, one-coat system with Glassmatt embedded into weak areas
roof repair kit tick Incredibly strong and durable
roof repair kit tick
No primer required


SKU: N/A Category:

Description

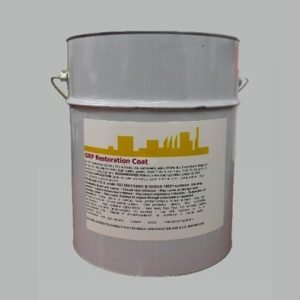
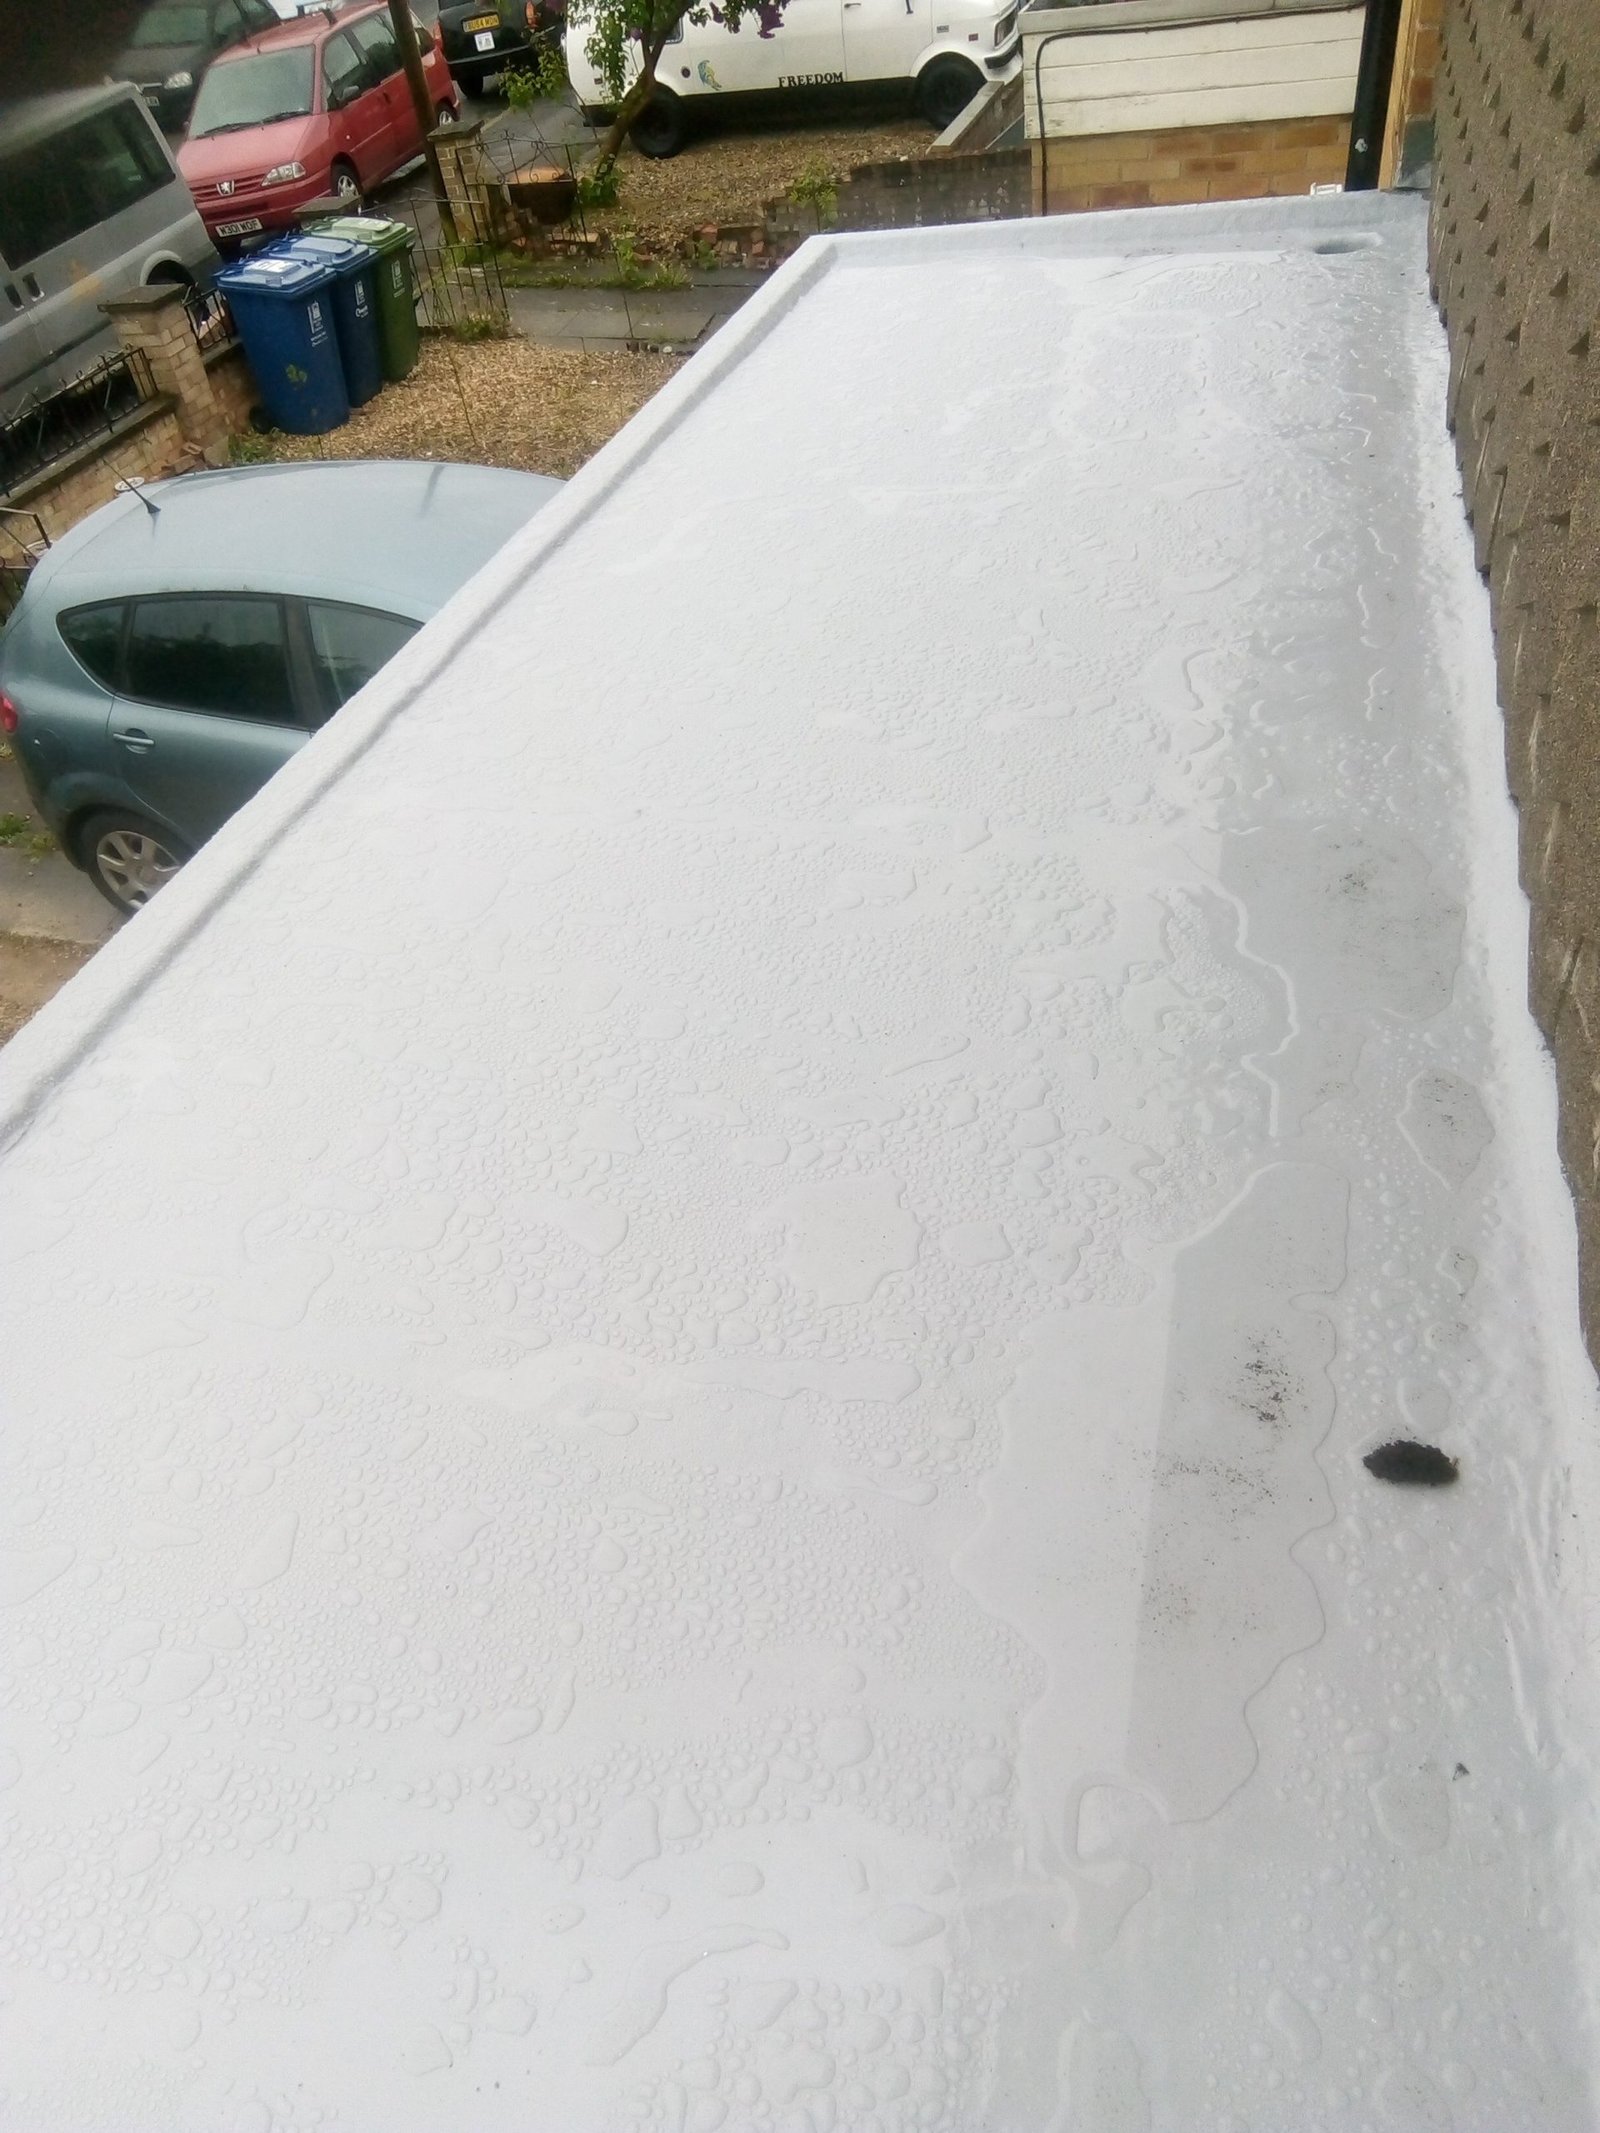
Restoring and reinforcing your fibreglass roof couldn’t be easier with our GRP Roof Restoration and Reinforcement Kit.
What You Need to Know:

Size: 6kg (covers 6m2) or 15kg (covers 15m2) tin
Coverage: 1m2 per kg of coating. Reinforcement fabric to cover 4m2 (with the 6kg tin kit) or 8m2 (with the 15kg tin kit).
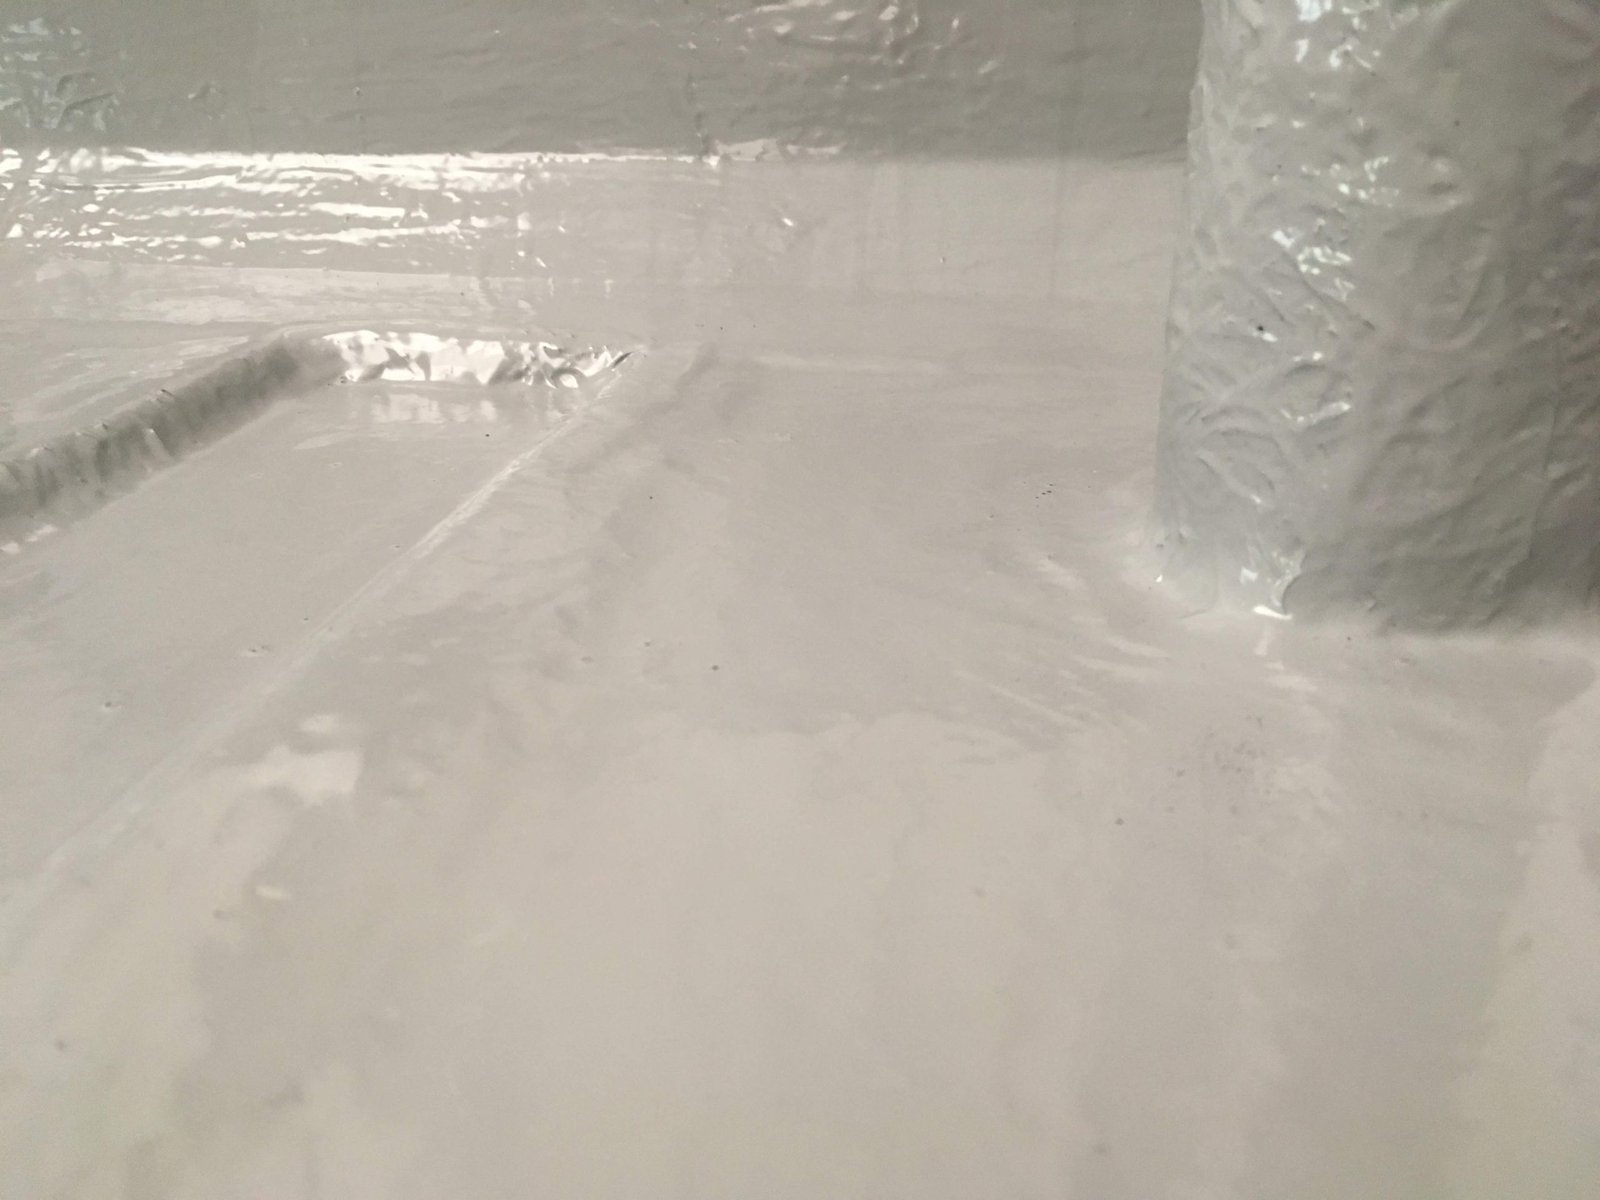
Application: Paint or roller on. Reinforcement fabric is embedded between two coats of the coating, making sure to draw the base coat through the glassmat fully so it is fully wetted before applying the top coat.
Touch dry time: 3 to 4 hours, although it may take longer on colder days.
Cleaning Up: You need a strong cleaning product like Xylene for cleaning tools, etc afterwards.

Whats in the kits?

Kits come in 6kg and 15kg sizes.
A 6kg Kit contains: 1 x 6kg Tin of GRP Restoration Coat, 4m2 GlassMat reinforcing fabric, 1 x 9″ Roller head and 2 x 9″ Roller Sleeve, 1 x 2″ brush,
A 15kg kit contains: 1 x 15kg Tin of GRP Restoration Coat, 8m2 GlassMat reinforcing fabric, 1 x 9″ Roller head and 2 x 9″ Roller Sleeve, 1 x 2″ brush,

Why Choose GRP Restoration and Reinforcement Kit?
  • Minimal preparation
  • Easy to apply
  • 10 – 15 years life expectancy
  • Tough finish
  • Tolerant of high humidity, unlike GRP resin
  • Tolerant of a range of temperatures during application
  • Easy to re-coat in the future

If you have any repairs to make first you can just stick on a Speedpatch and coat over or apply PU Sealant.

If you have any cracks, blemishes or visible pinholes you might want to consider using the GRP Roof Restoration Kit for Cracks and Pinholes.

If you have any larger holes you might want to consider using the GRP Roof Restoration Kit for Holes.

Size:
6kg or 15kg tin
Coverage:
1kg per m2
Colour:
Pale Grey
Touch dry time of top coat:
3 to 4 hours
Application:
Get surface clean and dry. Paint or roller a layer of GRP Roof Restoration Coat. On the areas you wish to reinforce roll the Glassmat into the coating and using your roller draw more of the coating through to ensure it is thoroughly embedded. Work it lightly in then apply more coating over the top.

APPLICATION INSTRUCTIONS

Choose a Good Day + Get Ready

Before you begin:
✔ Pick a dry, mild day (not raining, ideally above ~10 °C).
✔ Lay out your tools — roller, tray, brush, scissors, gloves, a clean rag, and solvent/cleaner for tools.

  1. Prepare the Roof Surface

Sweep away debris such as leaves, moss, dust, dirt and bird droppings.

Check for protruding glass fibres – if you see fibres sticking up, gently sand or trim them off so the surface is smooth.

Clean the surface with water and a mild detergent and then rinse thoroughly, so that it’s dust free before you start repairs.

Repair holes, cracks and other damage.

Use polyurethane mastic sealant like a filler. If you have many repairs to make with the sealant you may find it more convenient to use a powerflo gun. Otherwise, you could cut open the foils and use it with hand tools, e.g. a filling knife

SpeedPatch is an ideal repair over holes or badly damaged areas. Make sure you remove the clear top film before it cures, to leave a mottled surface if you are going to coat over it. Gently sand the edges and surface to remove sharp edges and rough up the surface after the patch has fully cured.

You can find both these products on the website.

Good surface preparation is critical – skipping this makes good adhesion and a watertight finish much harder.

  1. Mask the Edges (Optional but Helpful)

To get crisp, neat lines where the roof meets walls, trims, etc. apply tape around the edges before you coat and remove it later once the coating gets tacky.

  1. How to Apply Coating:

Stir the GRP Roof Restoration Coat so it’s even and well mixed. Do not do this quickly otherwise you may cause air bubbles.

Pour some into a roller tray.

Dip the roller in the tray and roll the coating onto the surface of the area. The kit coverage is about 1 kg per m².

Once that area is covered, place the Glassmat in the coating of the areas you want to reinforce. Then, carefully use the roller to draw the coating through the Glassmat so that it is thoroughly embedded. Don’t overwork the Glassmat otherwise you might pull up the glass fibres making it more difficult to get a smooth finish.

If you have detailed areas, you may need to mould the Glassmat around them. A few minutes after you’ve embedded it in the coating the solvent in the Glassmat will start to dissolve and you’ll be able to mould it more easily.

Work carefully around edges and details and make sure the repairs and roof surface are covered smoothly with no visible gaps or pin holes.

  1. Remove the Edge Tape

As soon as the coating starts to feel tacky (it’s beginning to set). Peel off your masking tape to leave clean edges without pulling the coating up later.

  1. Cleaning Up

Clean rollers, brushes, trays, etc. with xylene or a strong solvent right after use — the coating dries tough and is hard to remove once cured.

  1. Drying & Weather

The roof will feel dry to touch in about 3–4 hours on warm days, but full cure takes longer.

Try to keep it dry until fully cured — rain can affect the finish.

Xylene Thinners

Price range: £10.30 through £204.86 (inc. VAT)

You may also like…